
Site protection in painting: Safeguard your property
- Jonathan Hernandez
- May 11
- 9 min read

TL;DR:
Proper site protection prevents costly damages to floors, fixtures, and landscaping during painting projects.
Layered protection techniques, including coverings, taping, and sealing, ensure surfaces remain undamaged and project timelines stay on schedule.
A single spilled can of paint on an unprotected hardwood floor can cost more to repair than the entire painting job itself. That’s not a hypothetical — it’s a scenario that plays out across Los Angeles homes and commercial properties every year, and it happens because too many painting contractors treat site protection as optional. If you’re planning a residential or commercial painting project, understanding exactly how professionals shield your property from paint migration and collateral damage is one of the most valuable things you can know before work ever begins.
Table of Contents
Key Takeaways
Point | Details |
Comprehensive coverage prevents damage | Thorough site protection shields floors, fixtures, and landscaping from paint—avoiding costly repairs. |
Layered protection outperforms single barriers | Combining floor coverings and sealed edges best prevents paint migration and mess. |
Demand professional preparation | Reputable painters use systematic site protection for a cleaner, high-value result. |
Protecting surfaces saves money long-term | Investing in quality site protection minimizes accidental damage and insurance claims. |
Customize by surface type | The right protection materials are chosen based on your home’s unique surfaces. |
What is site protection in professional painting?
Site protection is more than laying down a tarp and hoping for the best. In professional painting, site protection is the practice of preventing paint migration and damage to every part of the property that isn’t being painted — floors, trim, fixtures, landscaping, and adjacent surfaces — from the moment prep work begins through final cleanup.
The scope is broader than most homeowners realize. It covers:
Floors: Hardwood, tile, carpet, concrete, and laminate each require specific types of covering materials.
Trim and baseboards: These are especially vulnerable during wall painting and require precise tape masking.
Fixtures and hardware: Light switches, outlet covers, door handles, and plumbing fixtures can attract overspray and drips if left unprotected.
Furniture and built-ins: Shelving, cabinetry, and large pieces that can’t be moved need plastic sheeting sealed at the edges.
Landscaping and outdoor surfaces: Exterior jobs bring additional exposure risk to plants, concrete walkways, fencing, and garden beds.
Reputable painters treat this as a non-negotiable standard, not an upsell. In fact, understanding safety in painting means recognizing that protecting the worksite extends beyond the painter’s physical safety to the preservation of everything around them.
“Site protection is as much a part of the job as the paint itself. If a contractor walks in and skips this step, they’re telling you something important about how they work.”
The reason professionals invest time and materials in site protection comes down to simple math. Paint damage to floors, fixtures, or landscaping can run into thousands of dollars in repair costs. The materials needed to protect those surfaces? A fraction of that.
Common site protection techniques: What pros actually do
Knowing that site protection matters is one thing. Understanding how it’s actually implemented gives you the ability to assess any contractor’s professionalism before they touch a brush to your walls. Here’s how experienced painters approach the site protection workflow on a typical residential or commercial project:
Pre-project walkthrough: Before any furniture moves or tape goes down, pros walk the full space to catalog surfaces at risk. This includes noting floor type, identifying delicate fixtures, and spotting landscaping adjacent to exterior walls.
Clearing and relocating: Furniture and movable objects are relocated to a staging area or removed from the room entirely. Items that stay get covered with sealed plastic sheeting.
Pre-cleaning floors: Vacuuming or sweeping floors before laying coverings is standard practice because debris trapped under drop cloths can scratch hardwood or create uneven surfaces that increase trip hazards.
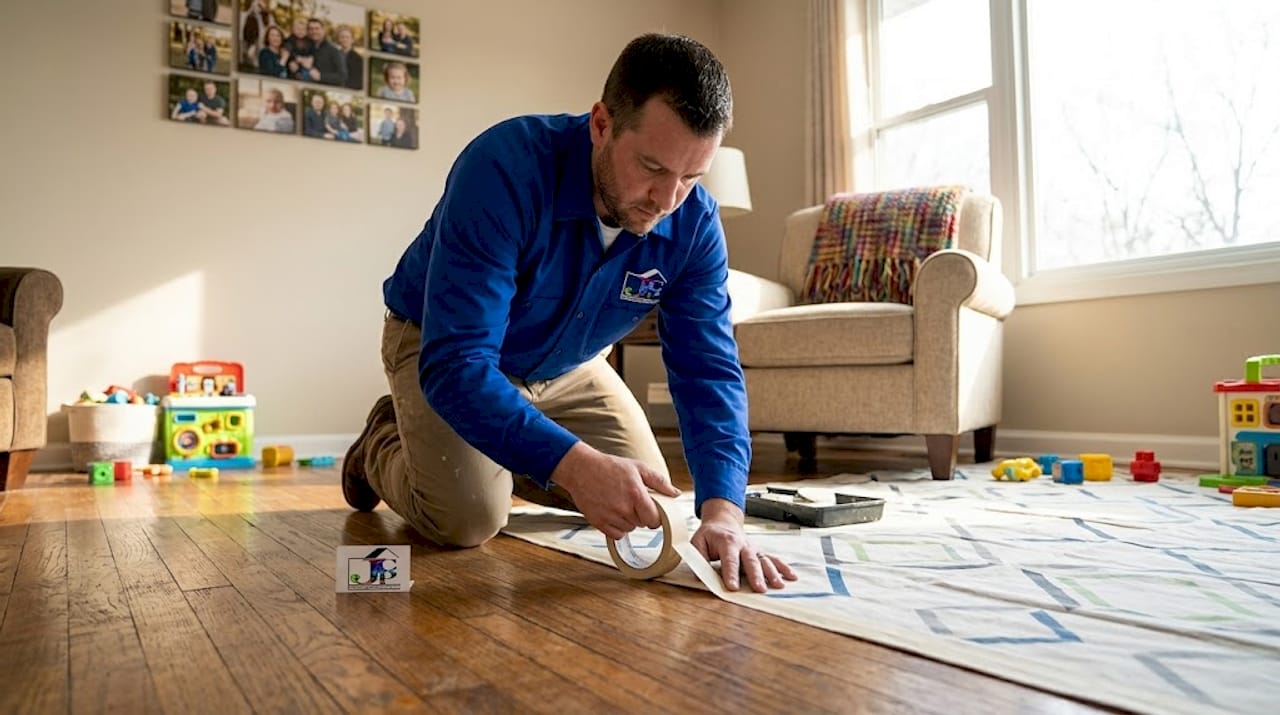
Laying floor protection: Absorbent coverings go down first, chosen based on floor type (more on materials below).
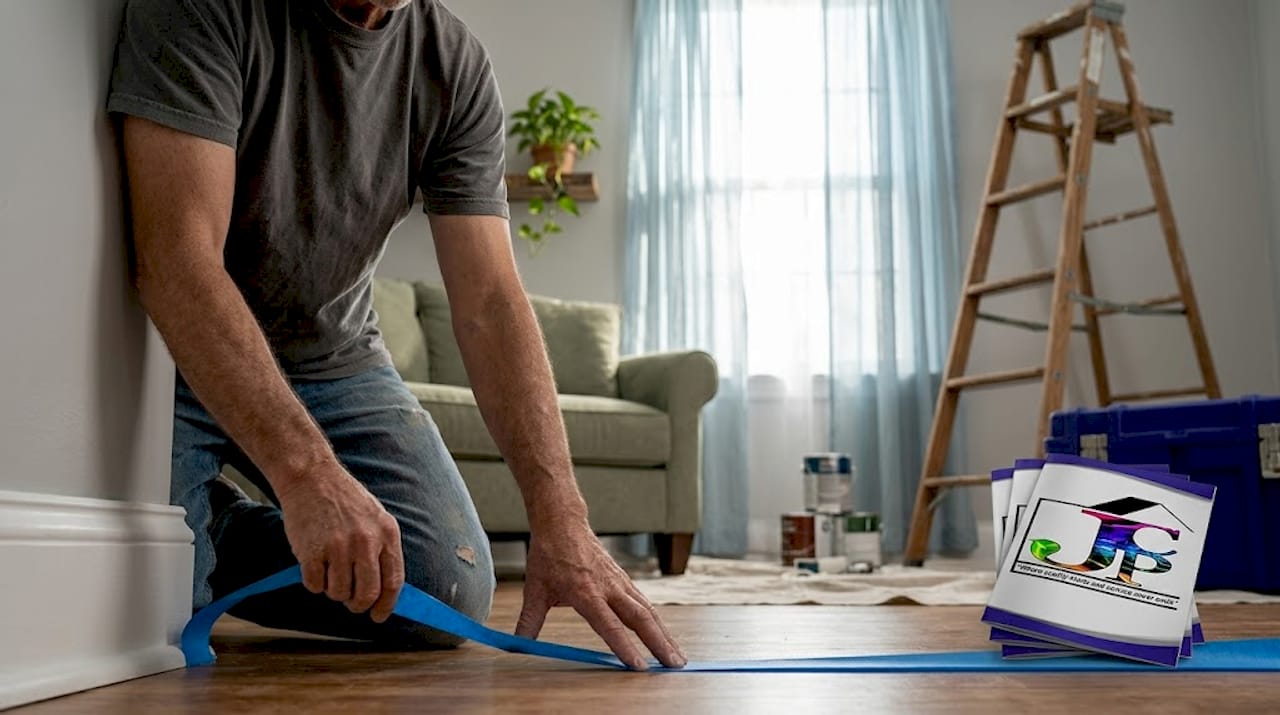
Perimeter taping: The edges of floor coverings are taped down to prevent shifting and to seal gaps where paint could seep through.
Masking trim and fixtures: Painter’s tape is applied to baseboards, door frames, window sills, light switches, and outlet covers. On detailed trim work, flexible tape contours to edges.
Sealing plastic on large fixtures: Ceiling fans, chandeliers, and built-ins get covered with plastic sheeting taped at every seam.
Final check before painting begins: A good crew does a second pass to confirm all coverings are secure, all edges are sealed, and nothing has been missed.
Choosing the right material for each surface
The material selection for floor protection is where a lot of contractors cut corners. Here’s a straightforward comparison:
Material | Best for | Absorbs drips | Prevents slipping | Cost level |
Canvas drop cloth | Carpet, general floors | Yes | Moderate | Medium |
Rosin paper | Hardwood, tile | Partially | Good (taped down) | Low |
Plastic sheeting | Furniture, fixtures | No | Poor (use with care) | Very low |
Ram board / floor board | High-traffic areas, hardwood | Yes | Excellent | Higher |
Combination (paper + canvas) | All floor types | Yes | Good | Medium |
Pro Tip: Never use plastic sheeting alone as floor protection. It doesn’t absorb drips, and wet paint on plastic is a serious slip hazard. A good crew always layers plastic with an absorbent material on top.
Effective surface prep for painting begins before the first coat goes on — and that includes treating every adjacent surface with as much care as the walls themselves.
Why layered protection beats single barriers: Avoiding costly mistakes
Here’s where many budget-conscious homeowners make a decision they regret. A single layer of protection — say, just a canvas drop cloth laid loosely on the floor — feels sufficient. It looks professional. But in practice, it fails in predictable ways.
A loose drop cloth shifts when painters move equipment across it, creating gaps at the edges. Thin cloths allow paint to soak through on high-drip areas near baseboards. And without sealed perimeter tape, paint can travel under the cloth and reach the floor surface undetected until cleanup reveals the damage.
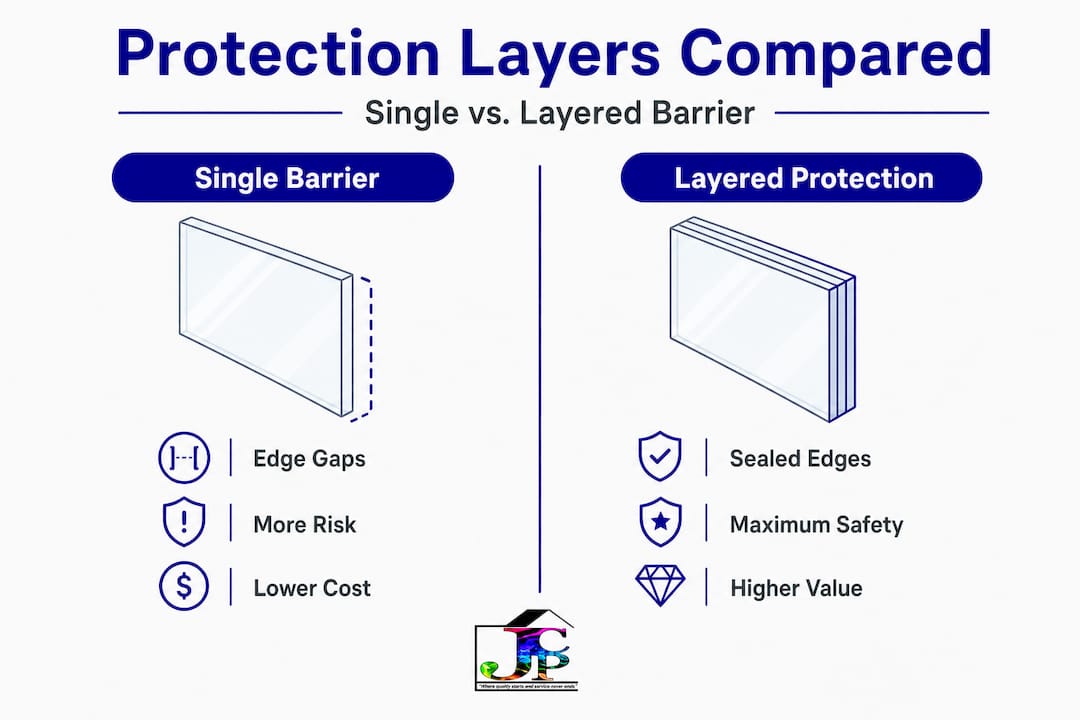
The industry standard for preventing this is layered protection. A layered approach combines floor covering plus perimeter tape, sealed masking edges, and careful pre-checks — because this method specifically targets the most common pathways for mess and bleed-through. It’s not overkill. It’s precision.
For hard floors especially, pros use a combination of rosin paper or floor board as the base layer, canvas cloth on top, and then tape the entire perimeter to the baseboard. This system prevents drips from seeping through, keeps the covering stationary, and adds a level of slip resistance that a single layer simply can’t provide.
Here’s a quick comparison of how single versus layered protection performs in real job conditions:
Factor | Single barrier | Layered protection |
Edge seal | Often gaps | Fully taped and sealed |
Drip absorption | Variable | Reliable |
Movement/shifting | Common | Minimal |
Coverage of seams | None | Targeted |
Risk of floor damage | Moderate to high | Low |
Additional material cost | None | Low to moderate |
Potential repair cost if it fails | High | Near zero |
The numbers tell a clear story. The difference in material cost between single and layered protection on a typical room is modest, often less than $50. The cost of refinishing a section of scratched or paint-stained hardwood floor starts at several hundred dollars and can reach well over $1,000 for larger areas.
Pro Tip: Before any contractor starts painting, ask them directly: “How do you protect my floors and trim?” A confident, detailed answer indicates a professional. A vague answer or a shrug is a red flag worth taking seriously.
Proper site protection also connects to eco-friendly painting cleanup. When paint doesn’t migrate to unintended surfaces, cleanup is faster, waste is reduced, and there’s far less chance of paint residue entering drains or outdoor areas.
Site protection and the bigger picture: Value, longevity, and peace of mind
Professional site protection isn’t just about avoiding damage. It actively supports the goals that matter most to homeowners and property managers: maintaining property value, protecting long-term investments, and completing projects efficiently.
Consider what’s at stake in a typical LA property. Hardwood floors in a well-kept home can represent tens of thousands of dollars in value. Custom tile work, stone countertops left uncovered in a kitchen repaint, or established garden beds next to a freshly painted stucco exterior — all of these are assets that take years and significant expense to create. Site protection prevents paint migration and keeps those assets intact throughout the project.
Beyond physical preservation, layered site protection delivers real operational benefits:
Faster project completion: When surfaces are properly covered and cleanup is minimal, painters finish faster. There’s no mid-project crisis when paint drips on an uncovered floor require emergency attention.
Fewer delays: Damage discovered during a job can halt work while repairs are arranged. Preventing damage keeps the project on schedule.
Easier touch-up access: Clean, well-protected job sites let painters focus on quality application rather than managing accidental drips.
Reduced liability concerns: For property managers overseeing tenant spaces, proper site protection reduces the risk of claims or complaints from occupants.
A stress-free experience: Homeowners who watch professionals set up layered protection before the first brushstroke feel confident the job is in good hands.
“The best painting projects feel invisible while they’re happening — you barely notice the work, and when it’s done, the only thing you see is the finished result. That’s what professional site protection makes possible.”
Whether you’re managing a multi-unit residential building or refreshing a single-family home in Silver Lake, proper painting maintenance in LA starts with treating every surface in the project zone with respect — not just the walls being painted.
Perspective: What most painting clients overlook about site protection
After 16 years of working on painting projects across Los Angeles, one thing stands out clearly: the clients who end up most disappointed are rarely unhappy with the paint color. They’re unhappy because something got damaged that shouldn’t have been. A scraped floor. A light fixture caked in overspray. A garden bed that looks like it was splattered by a paint roller. And in almost every one of those cases, the problem traces back to a contractor who skimped on site protection.
Here’s the uncomfortable reality. Cheap painting bids are often cheap because the contractor has cut exactly this kind of preparation out of their process. Materials cost money. Setup time costs money. A bid that’s 30% lower than everyone else’s often means someone isn’t using proper drop cloths, isn’t taping perimeters, and isn’t spending the time to mask fixtures carefully. Homeowners don’t usually discover this until the damage is already done.
The questions you should ask before signing any painting contract are simple but revealing. Ask about their specific site protection process. Ask what materials they use for floor protection and whether they tape perimeters. Ask what happens if something gets damaged during the job. A contractor who has real answers to all three of these questions, without hesitation, is a contractor who takes this seriously.
There’s also a meaningful connection between site protection and whether a contractor carries proper insurance. Painters who invest in thorough site protection are generally the same painters who operate as insured painters in LA — because they understand professional accountability and take it seriously. It all reflects the same underlying standard of care.
The value of getting this right is concrete. We’ve seen cases where proper site protection prevented damage that would have cost the property owner $3,000 to $5,000 in floor refinishing and fixture replacement. The materials to prevent that damage cost less than $200. That’s not a minor detail of the job. That’s the job.
Professional site protection with Johnny’s Custom Painting
Every painting project we take on at Johnny’s Custom Painting begins with the same commitment: your property leaves in better condition than we found it, and nothing gets damaged in the process.

We use layered protection systems on every job, from single-room interior refreshes to large-scale exterior residential painting projects. You can browse our completed interior commercial painting work to see how we handle complex, high-stakes environments where site protection is especially critical. With 16 years of experience serving LA homeowners and property managers, we know exactly what surfaces need protection and how to apply it. Reach out to Johnny’s Custom Painting today to schedule a free estimate and see firsthand what professional-grade site preparation looks like from the first conversation to the final walkthrough.
Frequently asked questions
What does site protection include in a professional painting project?
It includes covering floors, trim, and fixtures, pre-cleaning surfaces, and sealing edges to prevent paint drips or damage, as site protection addresses every surface adjacent to the area being painted.
Why is multi-layer floor protection better than a single layer?
A layered approach offers better spill, drip, and movement resistance by combining absorbent material with sealed perimeter tape, closing off the gaps that single layers leave exposed.
Can I request specific protection materials for my home type?
Yes, professionals can match materials to your specific floor type — for example, using rosin paper for hardwood or canvas cloth for carpeted areas, ensuring the right protection for each surface.
How does site protection impact painting costs?
Professional site protection adds a modest upfront cost in materials and setup time, but it prevents far more expensive repairs to floors, fixtures, and landscaping that can result from unprotected paint migration.
Recommended
Comments